Note: I tried to write this using the Hemingway Editor. This is new to me, so my writing may be a bit awkward. I targeted a 6th grade reading level.
Thanks to the current situation, many students are simulating their graduations in Minecraft. These graduations often involve replicas of schools. Building a 1:1 scale replica is hard work, so I set out to automate it as much as possible.
Exploring Google Maps Data
Google Maps has two types of promising data: 3D models of buildings, and satellite imagery. My first thought was to rip 3D model data from Google Maps. People have done this before. Converting a model to Minecraft blocks isn’t hard either. Unfortunately, the ripped models are low quality. Even as a starting point, you’d be better off building from scratch.
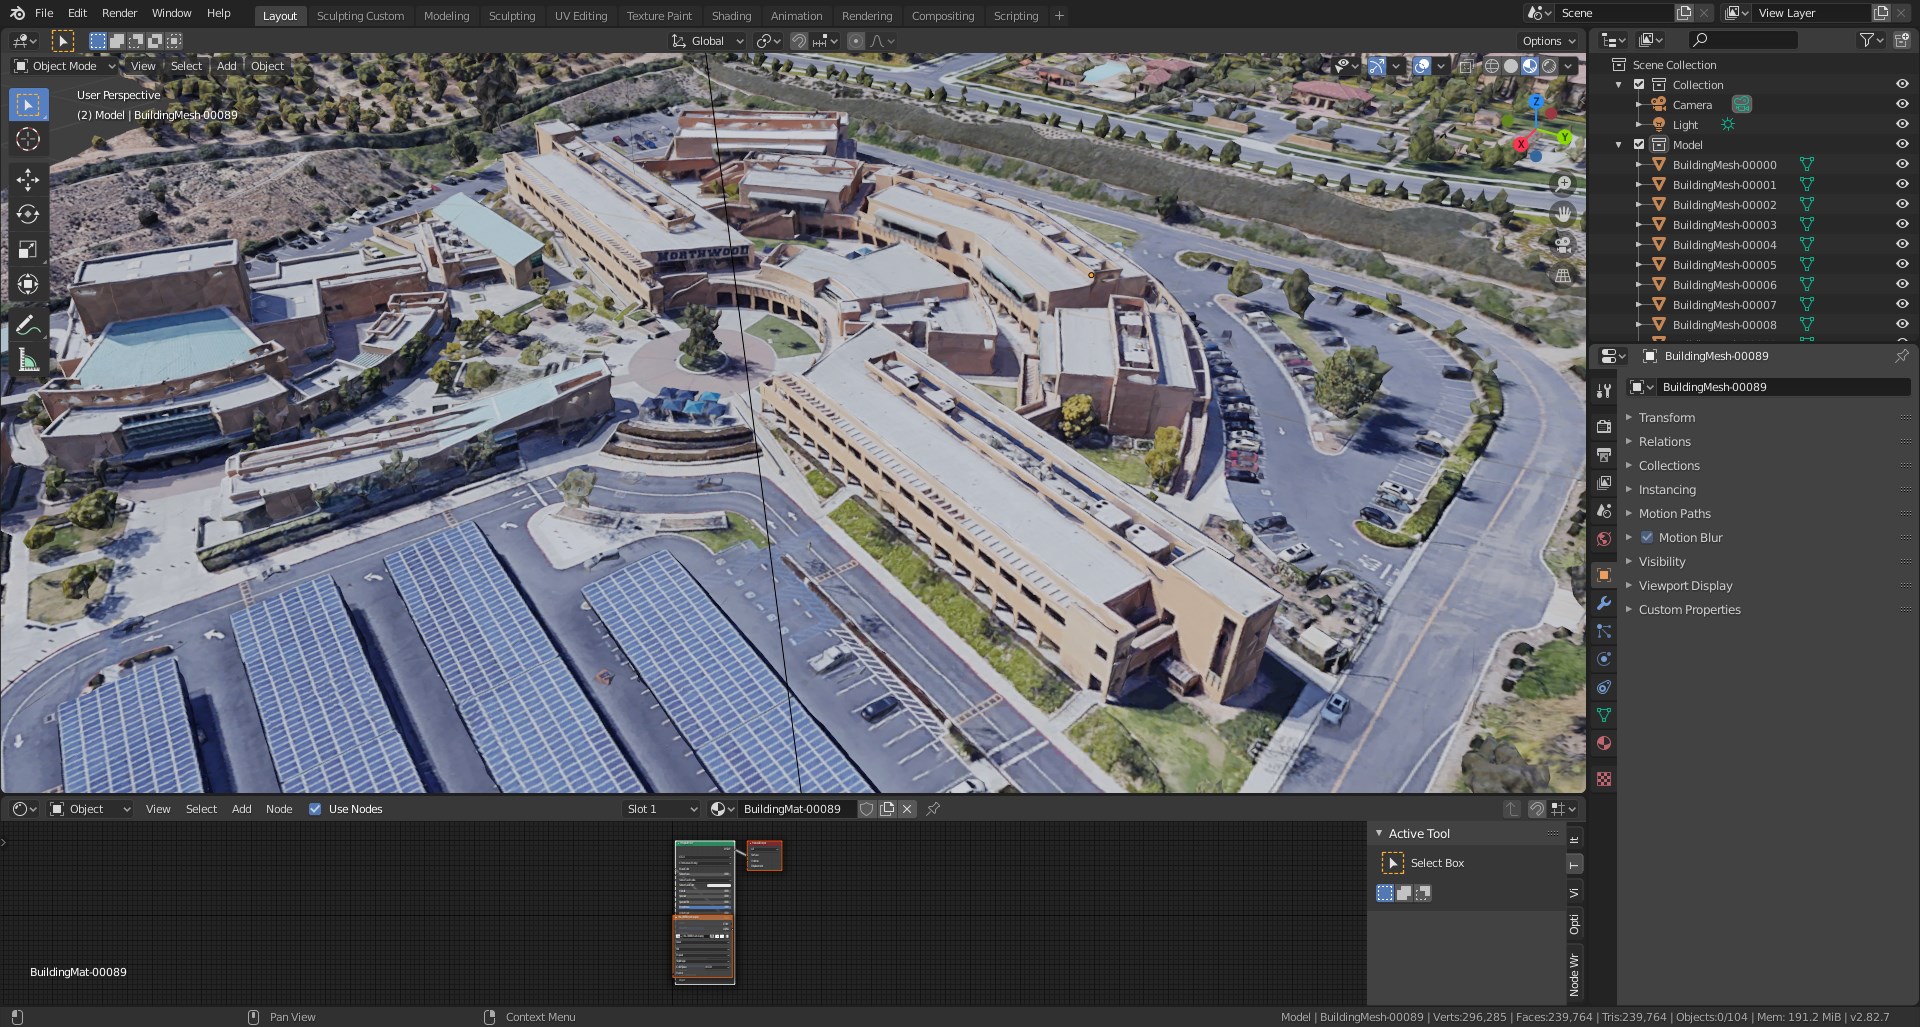
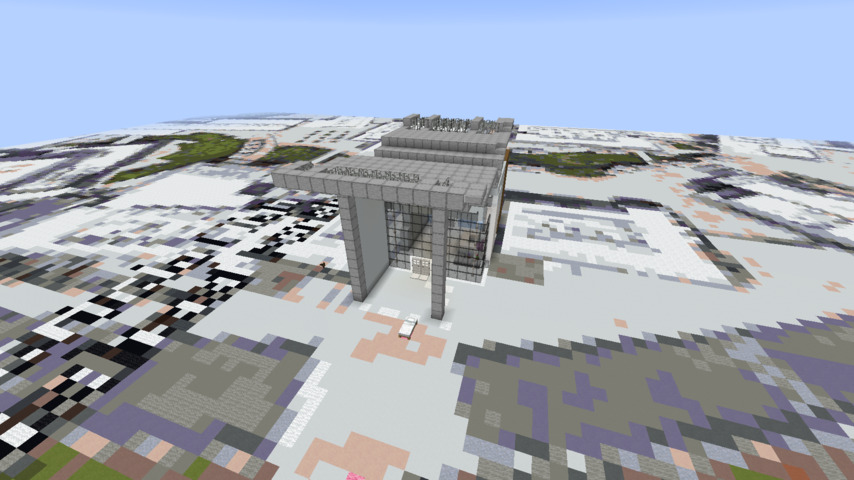
As a result, the initial conversions to Minecraft blocks didn’t look great. Here’s a model my friend Justin generated. It’s supposed to be his high school, but it’s hard to tell.
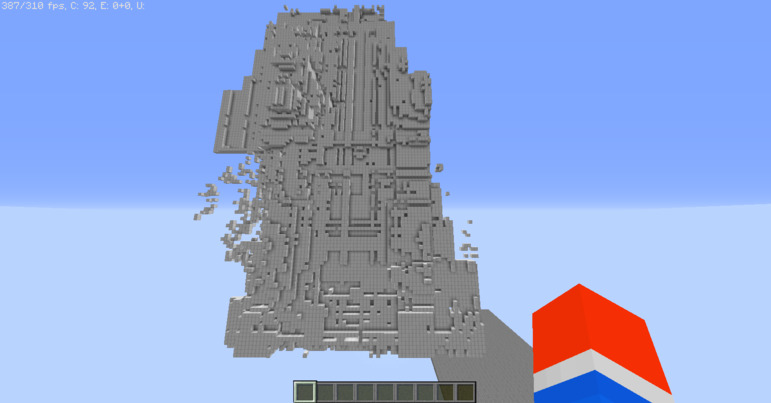
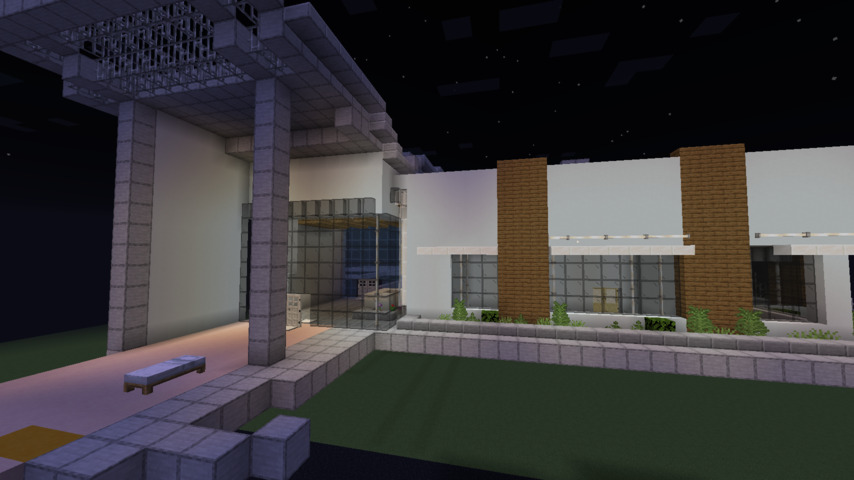
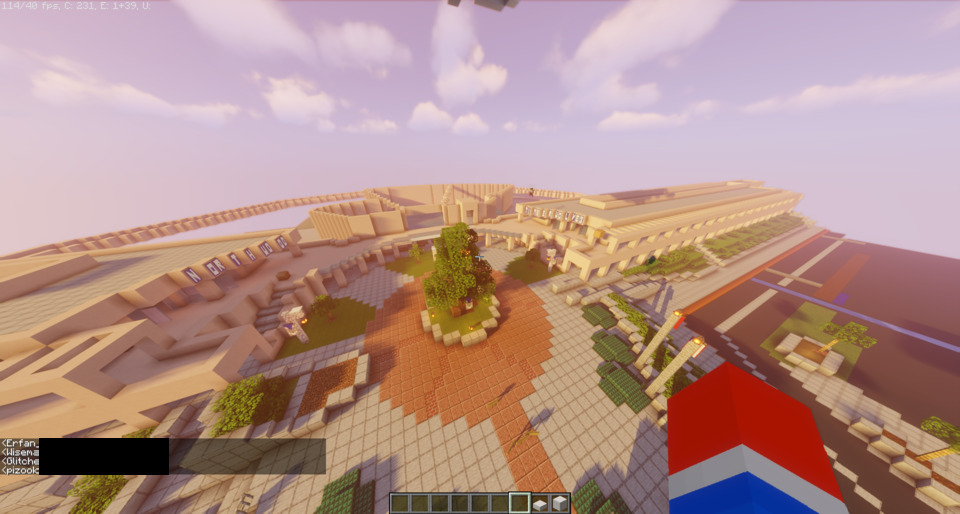
Justin ended up building his school manually, and it looks really good.
It may be possible to salvage the Google Maps 3D object with a smart algorithm. However, I think manual builds would look nicer.
That brings us to the second type of data: satellite imagery. This is pretty straight forward, and pretty high quality. It’s even scaled pixel for pixel, so we should be able to import it into Minecraft and use it as a scale reference.
Getting Map Tiles
It’s pretty easy to rip map tiles from Google Maps. I was lazy and took a screenshot instead. If your build is small enough (less than 600m^2), you can do the same.
While easy, there are some things you should consider.
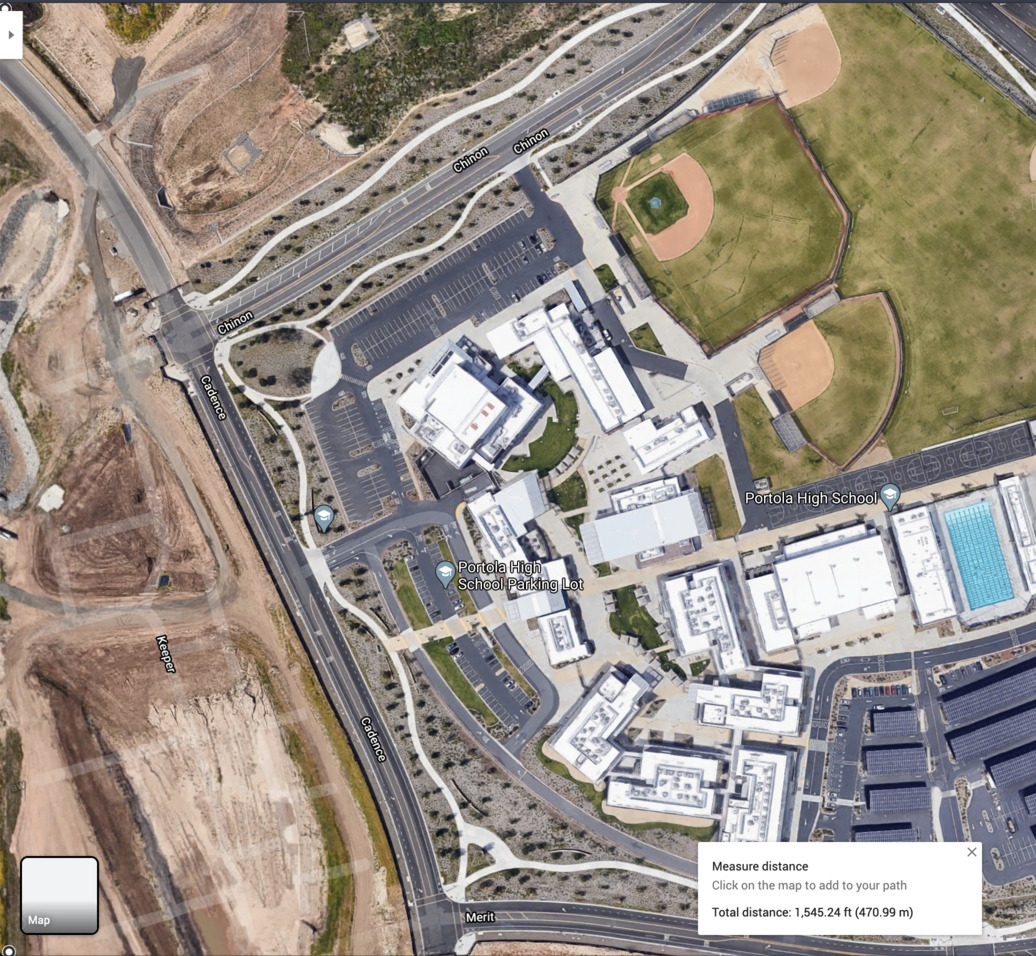
Find a straight line in your build, and align it either vertically or horizontally in the screenshot. This will help while building later. Note: It’s not immediately obvious how to rotate the map on desktop Google Maps. The secret is to click the Earth icon in the bottom right, then hold control and drag to rotate.
Write down the height and width of your screenshot in real-world meters. To find these measurements, use the measure tool, and drag the dots to the corners of your screen. If you measure from the middle of your screen, you might measure at an angle. This will throw off your scale. Both the height and width of your screenshot should be a round number to the nearest 0.1m. Any more precision is difficult due to the resolution of Google Maps image tiles.
Use a screenshot tool built into your browser or ShareX. The screenshots must match your original measurements. Using an imprecise screenshot tool will introduce error.
Converting Map Tiles to Minecraft Blocks
Someone already made a web-based tool (git) to do this. Upload your screenshot, and input the corresponding width in meters. Remember, one block is one meter. If the resulting height matches your measured height, you measured everything correctly. Good job!
If your build is more than 256 meters in either direction, you’ll need to check the “ignore height limit” box. All other settings are up to personal preference.
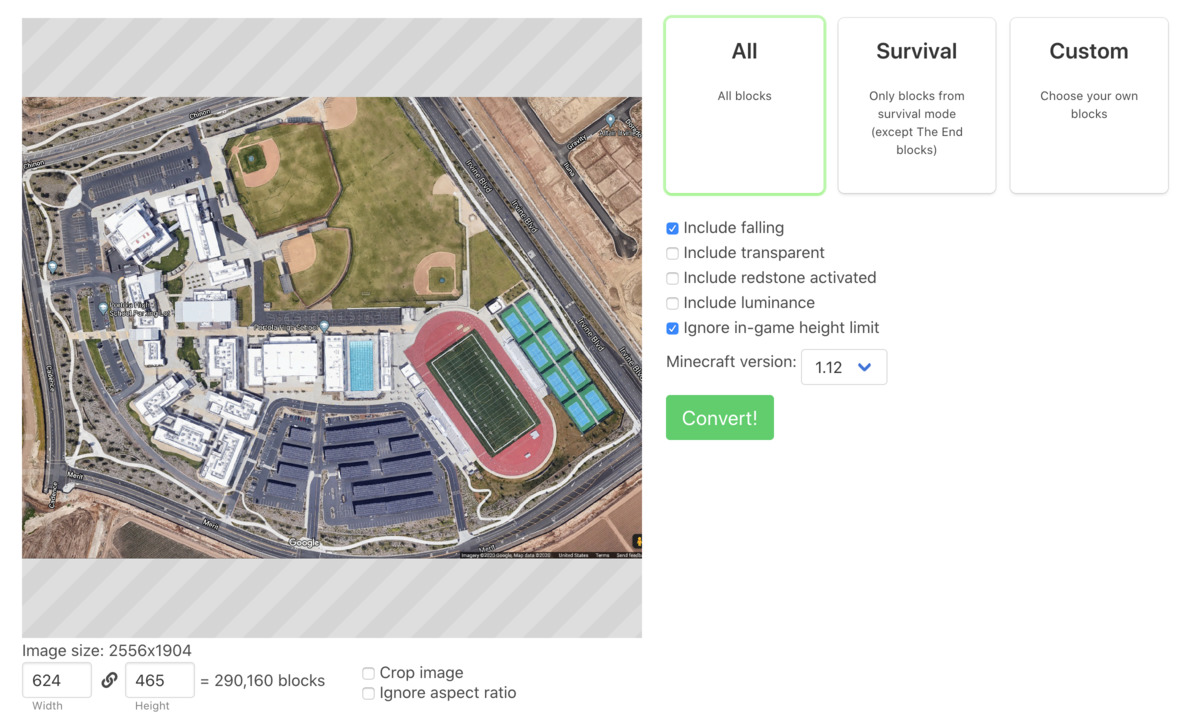
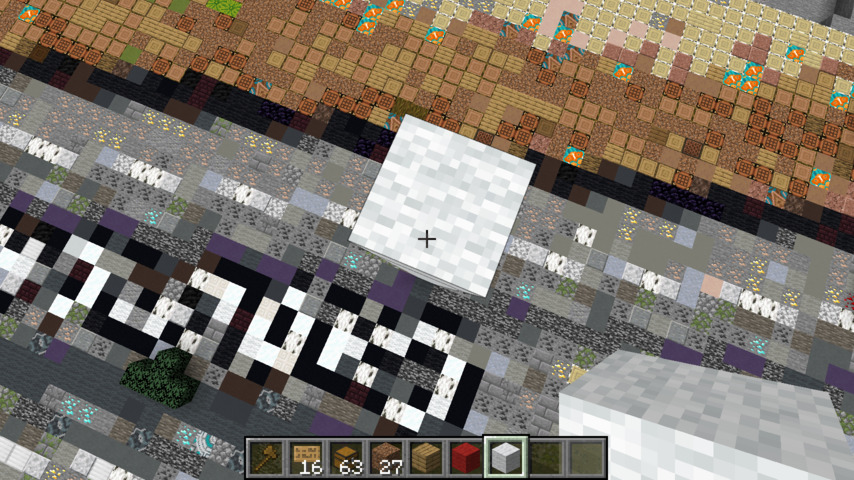
The output is a map on its side instead of flat on the ground.
Rotating the Schematic (Pt 1)
> Why is this in its own section, isn’t this trivial?
Oh boy. I thought this would be easy too. Use WorldEdit’s rotate command and you’re good to go.
… except WorldEdit doesn’t let you rotate blocks on the y-axis
But wait! It actually does! It’s completely undocumented, and the only reference to this feature is the least-upvoted answer on an old StackOverflow post.
//rotate degx degy degz
But wait! WorldEdit deletes everything past 256 blocks, thanks to that height limit. So this feature is useless to us! Yay!
Rotating the Schematic (Now w/ Python)
After trying every GUI program that deals with schematics, I decided to use Python. As always, Python makes everything completely free. I love Python. Also, thanks, cbs228.
I ran the code below in an interactive Python session. Using Python as a shell is helpful for complex tasks like this.
from nbtschematic import SchematicFile
orig = SchematicFile.load('tall.schematic')
print(orig.shape) # x,z,y => 1,624,465 in my case
new = SchematicFile(
  shape=(int(orig.shape[2]),int(orig.shape[1]),int(orig.shape[0]))
) # switch x,y
for y in range(int(orig.shape[0])):
  for z in range(int(orig.shape[1])):
    for x in range(int(orig.shape[2])):
      new.blocks[x,z,y] = orig.blocks[y,z,x] # switch x,y
      new.data[x,z,y] = orig.data[y,z,x] # preserve metadata
new.save('flat.schematic')
Wow, easy.
Importing the Schematic
This is a simple WorldEdit task. Use /schematic load flat.schematic and //paste while standing on the ground in Minecraft, and you’ll have a 1:1 scale reference!
Future
Figuring out how to rip higher quality 3D models could make this a lot easier. Ping me if you know a way :)
Pictures