I last tried to write an Android app in 2014, and got incredibly confused by things just not working the way I wanted them to. Even an example directly from the documentation wouldn’t work as-is, leading to a lot of headaches and blind guessing. On the other side of the fence is iOS development, which was a piece of cake. Swift, although a new language, looked to already have more mature libraries (for certain tasks) than Android did.
My new project, Portolapp, has been nothing but smooth sailing. This article contains my reccomendations so that you can have the same experience.
1. Use Android Studio Canary

The current stable and beta versions of Android studio (as of 8/9/2018) have numerous weird bugs that are all fixed in the latest canary build. These bugs range from things not compiling for seemingly no reason, to UI scaling improvements (a must have for hiDPI monitor users), to a lack of support for the latest libraries. You can get the canary builds here.
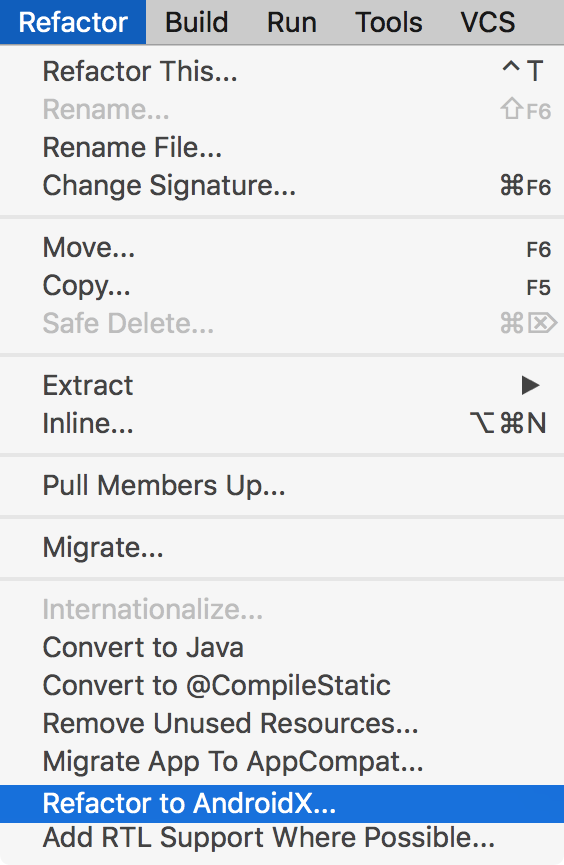
2. Use AndroidX over the Support Library
As noted in the AndroidX Migration Blog Post:
the organic growth of the [support] library has become confusing. There are components and packages named “v7” when the minimal SDK level we support is 14! We want to make it clear for you to understand the division between APIs that are bundled with the platform and which are static libraries for app developers that work across different versions of Android.
You still get all the benefits of the support library with AndroidX (like backwards compatibility) - but you no longer have to deal with confusing class names. Migrating is also super easy in the latest canary build, just right click and press refactor to AndroidX.
3. Use Kotlin over Java
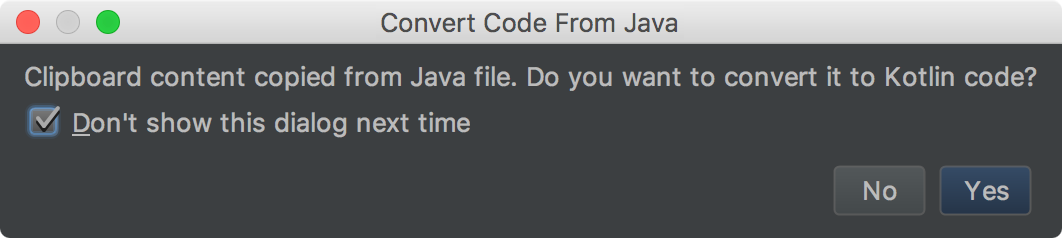
Using Kotlin is basically a requirement. Gone are the verbose get() and set() calls just to do something as simple as updating a textview. Gone are the days of getElementById(R.id.thething).setText()! With Kotlin, everything becomes easier. For example, that code I mentioned earlier reduces down to thething.text = "".
“But all the documentation and everything on stackoverflow is in Java!” you say. Well, with Android Studio, copy pasting some Java into your Kotlin file automatically converts the Java to Kotlin and helps you simplify it. Moving your existing project to Kotlin is also a breeze - there’s an item in the refactoring menu for that.
4. Use the Navigation Graph / Editor

For anything but the simplest of apps, you will want to use the new Navigation Graph Editor (only availible in the Canary build) in order to manage your app’s flow. It automatically handles things like swapping out fragments, which can negate the need for tools such as Butterknife.
In Portolapp, I’m not actually using the navigation graph (yet). I found it easier to do the non-butterknife manual fragment swapping with material tabs (a benefit of Kotlin). The app is getting a bit more complex however, and so I tried out the graph in a test application. It works very well, so I will be switching to it eventually.
5. Use ConstraintLayouts.
You will never be able to use any other type of layout. Implementing UIs was near impossible for me until this was invented. If creating layouts was the hardest part of Android Development for you, ConstraintLayouts might be the answer to all your problems.
In a Constraint Layout, you tie (constrain) things to other things. For example, you can tie some text to the bottom of your menu bar and to the sides of the screen. Now, regardless of the size of the screen your user has - the text will always be in the middle of the screen, right below the app bar (with a configurable minimum distance from all it’s constraints).
This allows you to create perfect looking UIs on any screen, without much effort (or even programming!). Others at my school who are too scared to actually touch the Kotlin code have been able to make prefect looking UIs using only the layout editor.
Conclusion
And that’s it! Five easy steps to make Android app development that much less of a pain.